
 My River Goddess is coming along nicely.
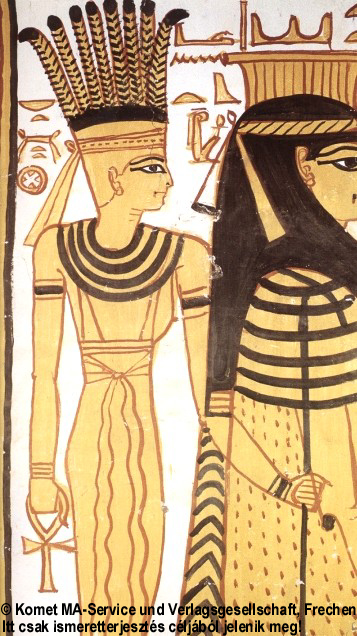 I've pretty much got the headdress worked out. I considered putting
some peacock feathers in there (associated with both Oshun, the Yoruban
fresh water goddess and with Sarasvati, a Hindu river goddess), but
after experimenting with a couple of variations, I thought it was just
too busy. You can see a reference pic and a couple of attempts at peacock feather eyes lingering off to the right of the drawing board in the screenshot above.
I've pretty much got the headdress worked out. I considered putting
some peacock feathers in there (associated with both Oshun, the Yoruban
fresh water goddess and with Sarasvati, a Hindu river goddess), but
after experimenting with a couple of variations, I thought it was just
too busy. You can see a reference pic and a couple of attempts at peacock feather eyes lingering off to the right of the drawing board in the screenshot above.I opted to just stick with the striped feathers as seen in some depictions of Anuket (see pic at right), and added some simpler curling feathers at the sides.
The collar and baptism symbol are finished, though I am still experimenting with the design of the chest area. It doesn't feel quite right to me yet. Often, if something is not quite flowing perfectly, I'll leave that area and continue with some other part of the drawing. Eventually a solution comes to me. Sometimes the Muse needs some downtime to come up with some inspiration. Sometimes filling in the rest of the drawing will help me determine how to handle those areas.
I decided to remove the clay figurine version of Anuket from the tail area. I've concluded that it's unnecessary, as she's already well-represented in the piece. Instead, I've decided to put a stream of water flowing down the middle of the tail to blend it in with the waterfall at the bottom (which is looking a bit like some kind of 4-legged octopus at this stage! Quadropus???).
 This screenshot has caught me in the midst of filling in the fish scales. Using Japanese depictions of koi fish (and dragon!) scales as inspiration, I build them from overlapping layers of simple circles. Once the area has been covered, Ill trim the outside edges to conform to the curve of the tail.
One thing I keep in mind as I'm putting all of this together is the balance of darks and lights. Working with only black and white can be challenging, but if handled with care, it can be used to create nicely crisp and balanced designs.
I noticed that the arm on left was a bit too big, so I adjusted that. The other arm will definitely need some work. I'll need to find some good references for that. Hands can be quite challenging to get right!
Stay tuned for further sneak peeks!
No comments:
Post a Comment
We'd love to hear your feedback - please feel free to leave comments for us!